Introduction
Installation
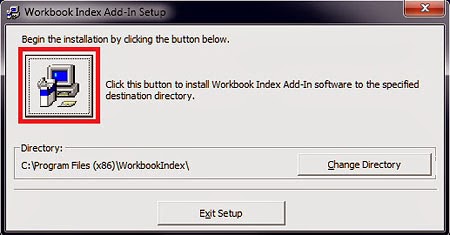
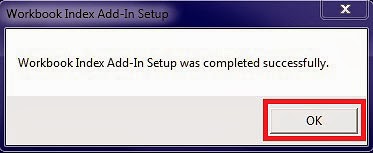
The installation process is quite easy and straightforward. It is suggested to close any Excel instance that might be open before you proceed:



How it works
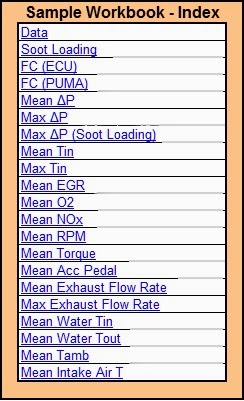
By pressing the “Create Index” button the add-in will create a complete list of all the sheets that are included in the active workbook. The list is in reality a list of hyperlinks, so by clicking on the sheet’s name you will be transferred to the corresponding sheet. The add-in creates a new worksheet in the active workbook (named Index), loops through all the sheets in order to get their names and writes their names at the Index sheet. Then, it creates hyperlinks to the correspond sheets. The process is quite fast, so even if the workbook contains for example 225 sheets, the index can be created in 2 – 3 seconds.
One interesting feature of Workbook Index Add-In is the ability to hyperlink to chart sheets. Unlike worksheets, chart sheets cannot be hyperlinked since they don’t have a range property. If the add-in detects that there is at least one chart sheet at the workbook, automatically it will create a SelectionChange event at the Index sheet. This event actually reproduces the hyperlink behavior, so if the user clicks the chart sheet’s name, the VBA code of the event will activate the corresponding chart sheet. The only drawback of this method is that the workbook should be saved as macro-enabled type (XLSM, XLSB or even the old XLS) if previously has no macros. The add-in contains a lot of code for error handling, so in any case you will be informed about the success, or the reason of the failure – if something goes wrong (i.e. protected workbook structure).
Uninstallation
At any time you can remove the add-in from your computer following the typical procedure of removing a software from Windows:
Step 1: Close any instance of Excel that you might have open.
Step 2: Go to Start -> Control Panel and double click to Programs and Features icon.
Step 3: Find the Workbook Index Add-In in the list and press the Uninstall/Change button.

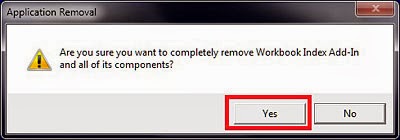
Step 4: In the application removal window press the Yes button.
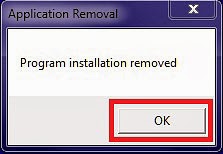
Step 5: A message box will inform you about the uninstallation process.
Demonstration video
The video below demonstrates the installation, usage and uninstallation of Workbook Index Add-In to a computer with Excel 2013. Five different case studies are demonstrated:
- XLSX file containing only worksheets (225 worksheets in total).
- XLSX file with some chart sheets: the message box at the end prompts the user to save the file as macro-enabled type due to the addition of SelectionChange event at the Index worksheet.
- XLS file with some chart sheets: unlike the previous case, the XLS file format can contain VBA code, so no prompt for saving.
- XLSM file with password-protected workbook structure: the message box prompts the user to unprotect the workbook structure and retry. After the protection removal, the index is created normally.
- XLSM with some chart sheets: similar to XLS case, no prompt for saving.
Downloads
In order to use Workbook Index Add-In you must have at least Excel 2007 or newer (2010, 2013) installed at your computer. The add-in has been successfully tested in both Excel 2007 (32 bit) and Excel 2013 (32bit). The operating system was Windows Server 2008 and Windows 7 Professional (64bit) correspondingly


